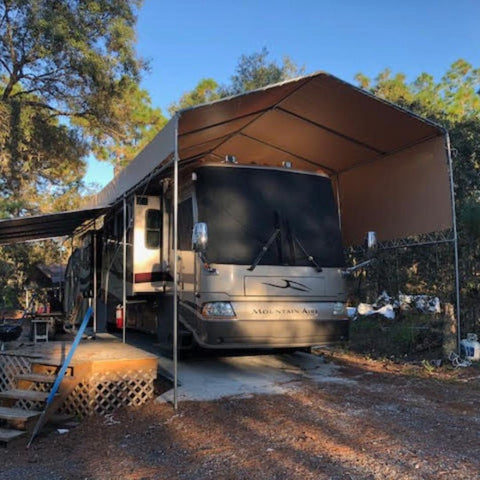
Not everyone has a built-in garage or carport, but that doesn't mean your vehicle has to suffer from exposure to the weather. Using a tarp for your carport is particularly appealing due to its affordability, ease of setup, and versatility. Whether you're a DIY enthusiast or just looking for a quick solution, this guide will help you create a functional and reliable temporary carport with a tarp.
This DIY project can be completed in a day and requires minimal tools and materials. Here’s a step-by-step guide to help you set up your own temporary carport using a tarp.
Step 1: Planning and Preparation
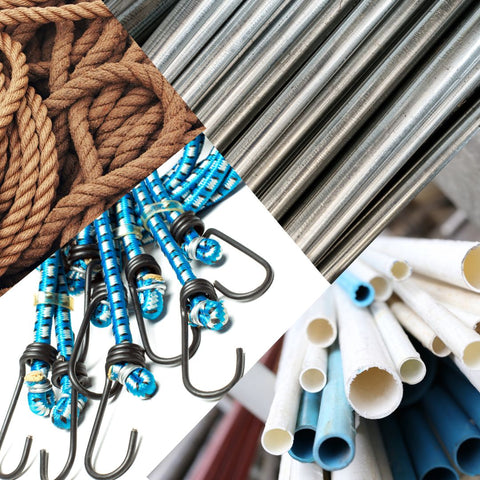
Aside from your tarp, you'll need a few more materials and tools to set up your carport. Gather sturdy poles or PVC pipes for the frame, rope or bungee cords for securing the tarp, and heavy-duty stakes or anchors for grounding the structure. You'll also need basic tools like a hammer, saw (if cutting is necessary), and possibly a drill for assembling the frame.
Materials Needed:
Heavy-duty tarp (size depends on the vehicle)
Measuring tape
Rope (enough to secure the tarp)
PVC pipes or metal poles (for the frame)
Rubber mallet (for stakes, if using)
Tie-down stakes or weights
Ladder (if needed)
Considerations:
Measure your vehicle to ensure the tarp will cover it completely.
Choose a location that is flat and away from trees or other potential hazards.
Decide on the type of frame: PVC pipes are lightweight and easy to work with, while metal poles are more durable.
Step 2: Building the Frame
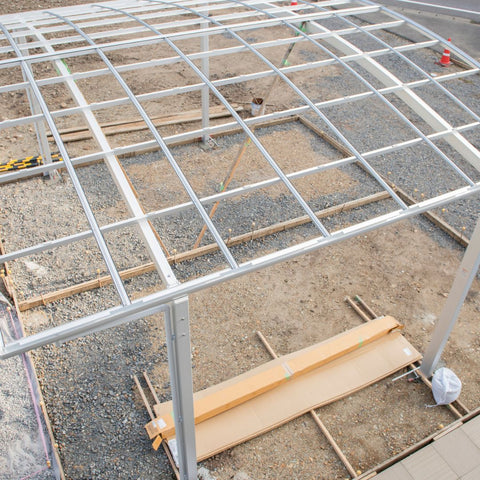
Construct a simple frame using PVC pipes or metal poles. The frame should be slightly larger than your vehicle to ensure complete coverage. If using PVC pipes, connect them using PVC joints to create a rectangle or square frame with a peak at the top for water runoff. For a metal frame, you may need connectors or welding.
Step 3: Securing the Frame
Stability is key for your carport to withstand wind and weather. Secure the frame to the ground using tie-down stakes or weights. If you're using stakes, use a rubber mallet to drive them into the ground at each corner of the frame. For hard surfaces, weights can be placed at the base of each pole to prevent movement.
Step 4: Attaching the Tarp

Once your frame is in place, it's time to secure the tarp. Drape the tarp over the frame, ensuring it covers the vehicle completely with extra material on all sides. Use rope or bungee cords to tightly secure the tarp to the frame, tying it down at multiple points to prevent flapping or sagging. Pay special attention to the corners and edges, as these areas are prone to wind lift.
Step 5: Reinforcing the Structure
To reinforce your carport, you can add additional ropes over the top of the tarp and secure them to stakes in the ground, creating a web-like structure. This step is especially important in areas prone to strong winds or heavy snowfall.
Anchoring your carport is vital to ensure it stays in place during windy conditions. Use heavy-duty stakes or anchors to secure the frame to the ground. If your carport is set up on a hard surface, consider using weighted bags or concrete blocks as anchors. Ensure the anchors are placed at each corner and along the sides for maximum stability.
Step 6: Checking for Water Runoff
Ensure the tarp is positioned so that water can run off easily, preventing accumulation on the roof. The peak you created with your frame will help with this, but it's important to check that there are no low points where water can pool.
Step 7: Maintenance and Adjustments
Regularly check your temporary carport for any signs of wear and tear, especially after harsh weather conditions. Adjust the tension of the ropes and the position of the tarp as needed to ensure ongoing protection for your vehicle.
To ensure your temporary carport lasts as long as possible, regular maintenance and care are essential. Check the tarp and frame periodically for signs of wear or damage, and replace any worn-out components promptly. Keep the tarp clean by wiping it down with a mild soap solution and rinsing with water. Proper care will extend the life of your carport and keep it looking good.
Choosing the Right Tarp
The first step in creating your temporary carport is selecting the right tarp. You'll need a durable, waterproof, and appropriately sized tarp to cover your vehicle effectively. Look for tarps made from heavy-duty polyethylene or vinyl, as these materials offer excellent water resistance and durability against the sun's UV rays. Ensure the tarp is large enough to cover your vehicle with extra room on all sides for securing it properly.
Selecting the Location
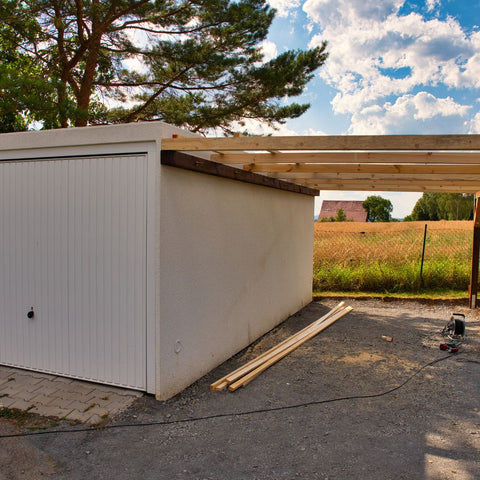
Choosing the right location for your temporary carport is crucial. Look for a level area close to your home or garage for easy access. Avoid places with poor drainage or where water pools, as this can lead to moisture problems. Additionally, consider the direction of prevailing winds and sun exposure to position your carport optimally for protection.
Conclusion
Creating a temporary carport with a tarp is a straightforward and effective way to protect your vehicle from the elements. With the right materials and a bit of elbow grease, you can set up a durable and functional shelter in no time. Remember, the key to a successful temporary carport lies in choosing the right tarp, building a sturdy frame, and securing everything properly.
When selecting your tarp, consider Tarp Supply Inc.® for our wide selection of high-quality, durable tarps perfect for any carport project. With our exceptional products and customer service, Tarp Supply Inc.® is your go-to source for all your tarp needs in the USA. Protect your vehicle with confidence by creating a temporary carport that stands up to the weather, knowing Tarp Supply Inc.® has got you covered.