Hey there, folks! Handyman Joe here, and today we're going to dive headfirst into a topic that every homeowner should have in their toolkit - roof tarping. Trust me, it's a skill that can be a real lifesaver when the unexpected comes knocking on your door. Whether you're battening down the hatches for an upcoming storm, trying to nip those pesky leaks in the bud, or just doing some quick, temporary fixes, knowing how to tarp a roof can be an essential skill set to have in your arsenal.
In this article, we'll break it all down for you, step by step, so you'll be ready to protect your precious abode from whatever Mother Nature throws your way.
Why Roof Tarping Matters
First things first, let's chat about why this skill is so essential. Roof tarping is like the shield that guards your home against the wrath of unpredictable weather. Whether it's a hurricane, a severe thunderstorm, or just a good old-fashioned downpour, your roof is your first line of defense. And when it's compromised, trouble can seep in real fast.
That's where roof tarping comes into play. It's a quick and effective way to ensure your roof stays intact and your home remains safe and dry. Plus, it can save you a ton of money in the long run by preventing costly repairs. So, if you haven't added "roof tarping pro" to your resume yet, it's high time you did.
Gather Your Tools and Materials
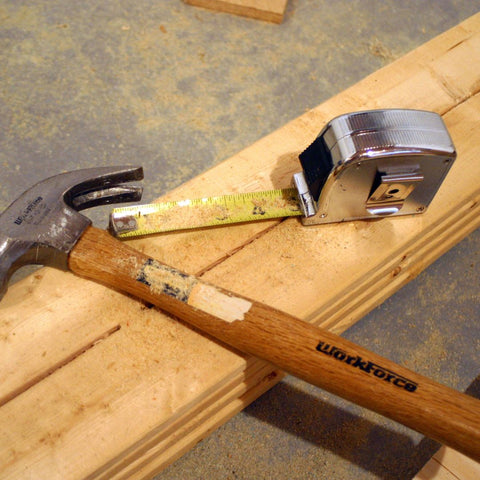
Alright, let's roll up our sleeves and get to work. To tarp your roof like a champ, you'll need a few essential tools and materials. Here's a quick rundown:


Assess the Damage
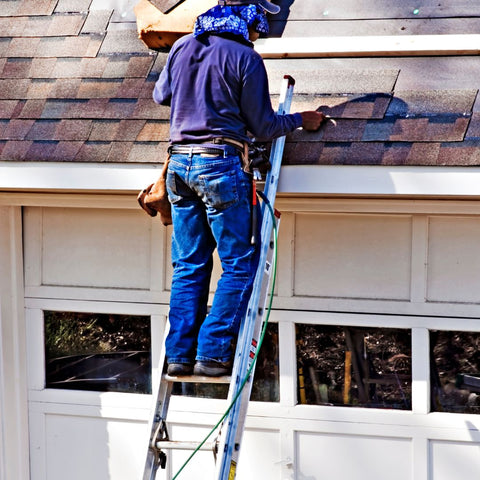
Before you start unrolling that tarp, you've got to know where it's going. Get up on the roof carefully and assess the damage. Look for any missing shingles, holes, or any other vulnerabilities that need covering. It's crucial to understand the extent of the damage before you proceed.
Covering the Damage: Step by Step
Now, let's break it down step by step, so you can tarp that roof like a pro.
Secure the Tarp
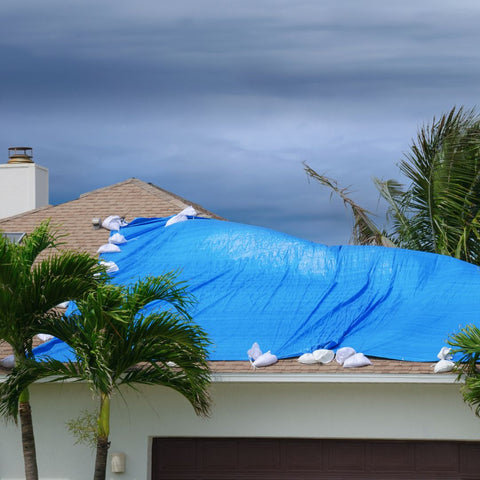
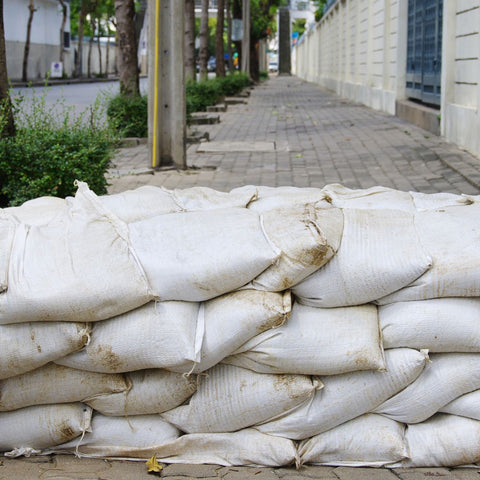
Lay the tarp over the damaged area. Make sure you have enough overhang on all sides to cover the damaged portion adequately. Use your hammer and nails to secure the tarp along the edges of the roof. Don't be stingy with those nails; you want it nice and snug.
Create a Water Runoff
This is an essential step to prevent water from pooling on your tarp. You don't want a mini swimming pool on your roof, right? To avoid that, lift one edge of the tarp and attach a rope underneath it. This will create a slope for water to run off, keeping your roof dry.
Tighten it Up
Now, go ahead and secure the tarp further by nailing it down every few feet across the roof. The more secure it is, the better it will stand up to strong winds and heavy rain. And remember, safety first - be cautious when working on the roof.
Checking Your Work
You've done the hard part, but we're not done yet. After a storm or heavy rainfall, it's essential to inspect your handiwork. Ensure that the tarp is still securely in place, that there are no leaks, and that water is properly running off. If you spot any issues, make the necessary adjustments.
Recommended Tarps for Roof
Heavy Duty Silver/Black Poly Tarp
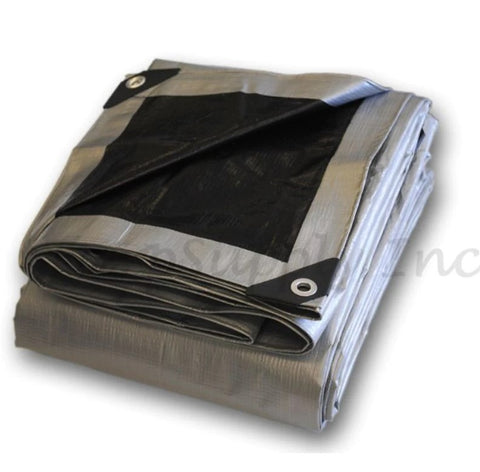
Our Heavy Duty Silver/Black Poly Tarp, engineered for exceptional durability and versatile protection. Constructed from 6 oz/sq. yard, 1200 denier thick, 100% high-density woven polyethylene, this tarp boasts a robust 14 x 14 weave for unmatched strength. Its waterproof design ensures your belongings stay dry, while the UV treatment on both sides provides superior sunlight protection. Resistant to wind, rot, and mildew, this tarp is built to withstand the harshest elements. Double-reinforced corners add extra strength, and aluminum grommets are spaced approximately every 24 inches for easy and secure anchoring. Whether you're covering equipment, sheltering outdoor spaces, or safeguarding your possessions, our Heavy Duty Silver/Black Poly Tarp is your reliable solution.
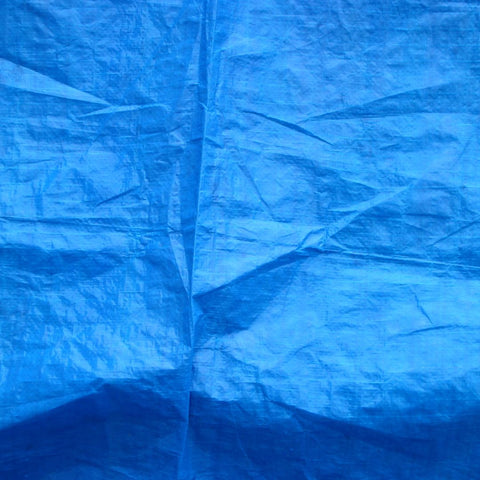
Blue Poly Tarp

Our versatile Blue Poly Tarp, your all-purpose solution for protective needs. Crafted from high-density woven polyethylene with a sturdy 8 x 8 weave, this tarp strikes the perfect balance between weight and strength at 3-4 oz/sq. yard and 4-5 MIL thickness. While it's not flame resistant, it offers superior waterproofing, making it ideal for various applications. UV-treated on both sides, it guards against the sun's rays. Resilient against rot, wind, and mildew, it's designed for long-lasting use. To reinforce its durability, we've included rope-reinforced hemmed edges. Whether you need shelter from the elements or a dependable covering, our Blue Poly Tarp has you covered.
Heavy Duty Silver Poly Tarp
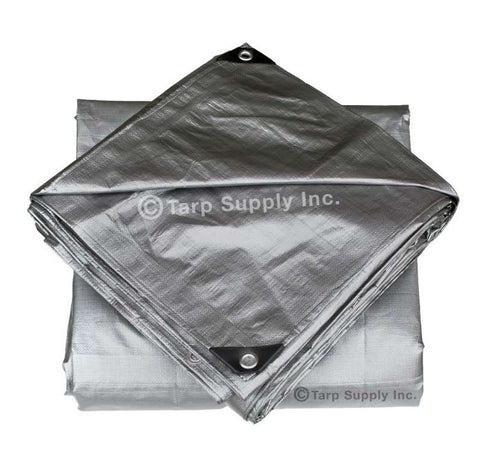
Our Heavy Duty Silver Poly Tarp, a robust shield for safeguarding your assets from the harshest conditions. With a substantial 6 oz/sq yard weight and a sturdy 10 MIL thickness, this tarp is built to last. The 14 x 14 weave adds extra strength to its high-density woven polyethylene fabric. Rust-resistant grommets placed every 18-24 inches, including the corners, ensure secure and reliable anchoring. UV treatment on both sides offers superior sunlight protection for long-term use. Waterproof and resistant to wind, rot, and mildew, it effectively shields your belongings from rain, snow, dust, and dirt. Plus, the rope-reinforced hemmed edges and double-reinforced corners enhance its overall strength. Our Heavy Duty Silver Poly Tarp is your ultimate defense against the elements.
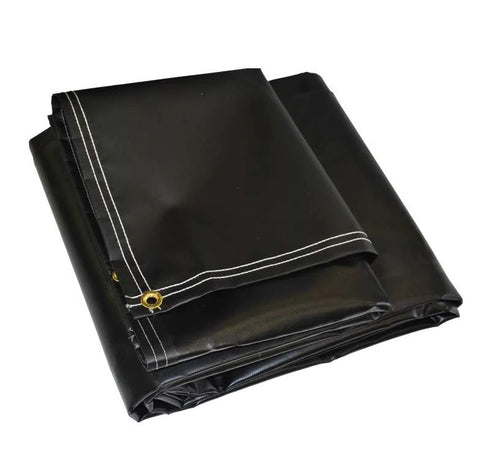
Super Heavy Duty Roofers Tear Off Tarps
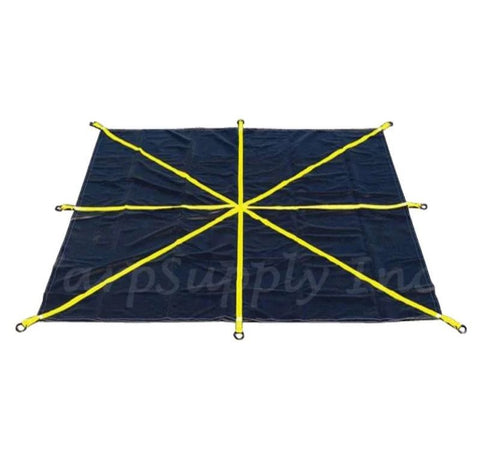
Our Super Heavy Duty Roofers Tear Off Tarps, the ultimate solution for tackling tough roofing jobs. Crafted from a robust vinyl-coated material at a remarkable 40 oz per square yard, these tarps are built to withstand the harshest conditions. They're not only waterproof but also acid resistant, ensuring your roofing materials stay protected. Featuring two high-strength yellow webbing straps and 3 (id) x 3/8 heavy-duty steel O-rings, these tarps provide secure anchoring and easy handling. With a sleek black tarp and contrasting yellow webbing, they offer both durability and visibility on the job. Please note, the cut size may be up to 6 inches less after edges are folded and hemmed. Proudly made in the USA, our Super Heavy Duty Roofers Tear Off Tarps are the professional's choice for roofing projects of any scale.
Industrial Grade 40 Oz Vinyl Tarps
Our Industrial Grade 40 Oz Vinyl Tarps, the ultimate solution for your most demanding outdoor needs. These tarps, constructed from heavy-duty 40 oz vinyl-coated polyester, are built to excel in even the harshest weather conditions. Heat-sealed seams ensure water-tight integrity, and rust-resistant brass grommets, positioned every 24 inches along all four edges and corners, provide easy and secure anchoring. The UV treatment on both sides enhances their durability and protection against the sun's rays. Available in a sleek black color, these tarps are your dependable choice for withstanding the elements and ensuring your belongings remain safe and secure.
The Bottom Line
So, there you have it, folks - a crash course in roof tarping. Knowing how to tarp your roof is a skill that every homeowner should have in their back pocket. It's like an insurance policy for your home, protecting it from the harshest of weather.
Now, I'm not saying you need to be an expert, but having a basic understanding and the right tools can make a world of difference. So, the next time you see those storm clouds rolling in, you'll be ready to tackle the elements head-on and keep your home safe and dry.


